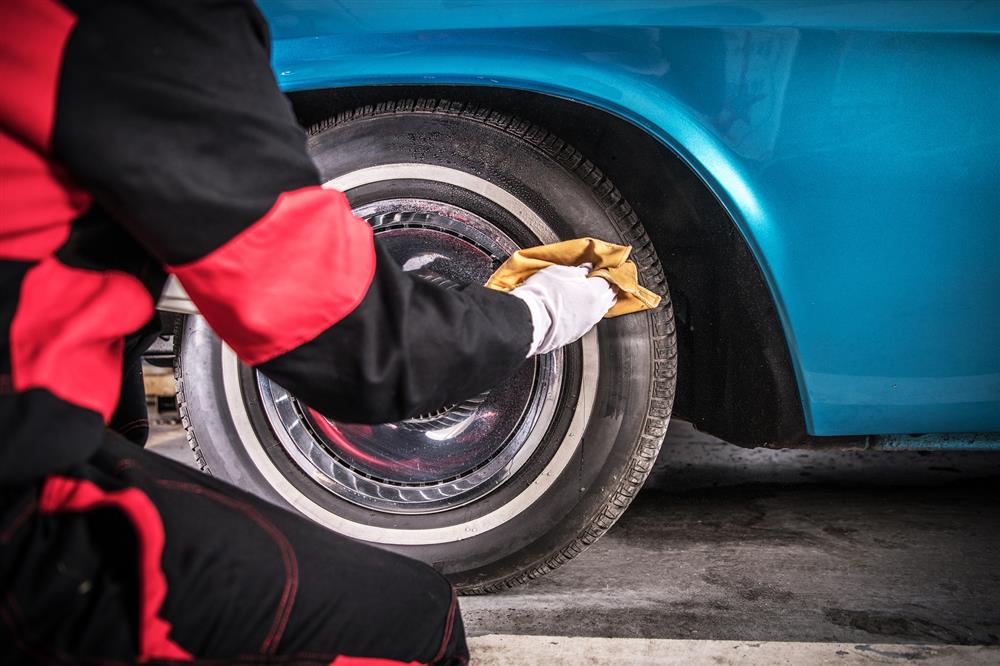
1-877-544-9023
9:30am - 5:30pm EST
Search
Filters
RSS

Blog

Do Kits Work with Headers?

We often get asked if our kits will or will not work with headers. Most recently, we got asked, “Will the upgrade kit 23-231 brackets work with headers?” The not-so-simple answer is: it depends.

Not all of our kits mount to the exhaust, typically Chevrolet. They will work with factory exhaust manifolds and most headers. However, you have to consider a number of variables with headers. The thing you need to take into consideration is the tube size and style of the header. Some headers may just not work. Others might require a slight bracket modification to clear the front header tube.

The Chevy compressor mounts were designed for either exhaust manifolds or headers. However, Chevy mounts were designed to the engine and not any particular vehicle. There are HUNDREDS of different header designs out there, tailored to each individual vehicle and while the mounts will work with most headers, there is a chance they may need to be modified slightly to fit a particular type of header. Some may take a little more work and in RARE circumstances, they will not work at all. 70s small block Chevy trucks are the only ones we’ve come across. So far.

Our Pontiac/Olds/Ford/Mopar mounts do not attach to the exhaust, so there’s never an issue there.

To those who have similar questions, we would say unless you are running super-comp headers, you might require slight modification. Otherwise, you should be fine.

But if you have any specific questions on headers and our kits, call us at 1-877-233-5523.

February's Cool Ride: Stephen's 1971 Ford Mach

I've had for 49 years. It's at 600,000 miles. Yes, I still drive it. I love this car. PS, PB, air, cruise, automatic C6. Been all over the country. I also rebuilt the original motor in 2001.

Original Air components are condenser, hoses, compressor, switch, and control.

A Guide to Revitalizing a Vintage Mustang A/C System

Main article originally published by americancarcollector.com

What you’ll need: 22-102 Stage 2 Performance Upgrade Kit, a/c lower mount bracket, a/c belt, 1966 Mustang

Summertime is the best time to drive you classic. It’s also the hottest. A mid-morning cruise can easily turn into a sauna on wheels. A ride in any classic should be a fun, blast from the past, not a sizzling sweat-fest.

Even though it’s currently winter, get the best out of your spring and summer experience. Take the time now to make any adjustments to your a/c system before it gets too hot even to consider looking under the hood. If you want the best experience for you, your grandkids, or significant other, you need to control the temperature with a functioning a/c system.

Many ‘60s and ‘70s classics have come with new A/C’s. But chances of them working well or working at all are slim to none. Original Air has conversion kits that can update the original system with R134a refrigerant, lines, hoses, and all other components you need to keep you cool. And no worries, the kits don’t change the look of the original control unit.

ACC had gotten a 1966 Mustang with a missing compressor. They ordered our Stage 2 Performance Upgrade Kit. Included are a new rotary compressor and clutch assembly, mounting brackets, all the hoses and fittings required, a high-performance condenser, and a new filter/dryer. Read their original article on their step-by-step guide on how they did it.

Read original American Car Collector Article featuring Original Air’s Stage 2 Performance Kit

January's Cool Ride: Arnie's 1984 Ford F150

I bought this after doing the H R P T 5 times. And not again without A\C. This fit the bill, It had factory air, but nothing but dash controls. So I called Original Air and they sent everything I needed to put air back in. Easy install works great.

We have been on the Hot Rod Power Tour 8 times, 5 as a long hauler. But the last 3 with air. I was looking for something to put air conditioning in. My other race car was not an option. But this truck was more than I was looking for. So I called Original Air and told them what I had. I was sent everything needed to install with ease. At my age, a little comfort is so nice. Living in the midwest, the temperature and humidity can get into triple digits. But now we can enjoy cruising in it when we want.

After I got the truck, I finished the interior, changed rear gear ratio, and added overdrive in the transmission. I also changed the camshaft, and heads to lower compression ratio. Now it's the cruiser I always wanted.

Original Air components are condenser, hoses, compressordrier, accumulator, expansion valve, suction valve and evaporator.

6 Ways to Kill Your Classic

You’ve taken your classic out enjoying the spring, summer, and fall. But it’s getting close to the holidays, which means winter is more or less here. Those of you in colder temperatures will likely play it safe and store your car. Regardless of whether you choose to use a garage or not, these six things can seriously screw up your classic during the winter:

  1. Bad storage/bugs/rodents

If you’re in a location that’s got snow, ice, and salt all over the roads, lock it up. Sure, you’d want to drain the fuel and check the antifreeze. But that doesn’t mean you’re good to go when it comes to avoiding issues with storage. If they can take out half the population of Europe, trust us. They can seriously harm your car. Rats or mice can chew through wires easily. A lot of the damage isn’t noticeable until you’re on the side of the road, stranded. They can feast on upholstery and installations as well as make nests infesting them with anything from feces to their offspring.

  1. Salts on the road

Not many of us remember chemistry class. Here’s a refresher: sodium chloride + steel = iron oxide. In other words, salt and metal create rust, which can leave a devastating impact on a classic. Driving down a wet, salted road with an unprotected surface like the exhaust, the frame, and suspension parts is an easy way to get rust. And if you’ve got fiberglass, that only does so much. The steel underneath the plastic panels will begin to corrode eventually. Understand water doesn’t equal rust. Some of the best-kept classics have come from areas with heavy rain but little snow.

  1. Worn tires

The appearance of good tires can be deceptive. Plus, almost any environment can cause wear and tear. Flat spots, tread wear, UV exposure, dry rot, and age are all common factors. Most classics don’t see any more than 15,000 miles a year. A good rule of thumb is to replace them, at max, every seven years. Even if the tire appears fine, don’t risk it. Blowing a tire can threaten your life, others' lives, and severely damage your car.
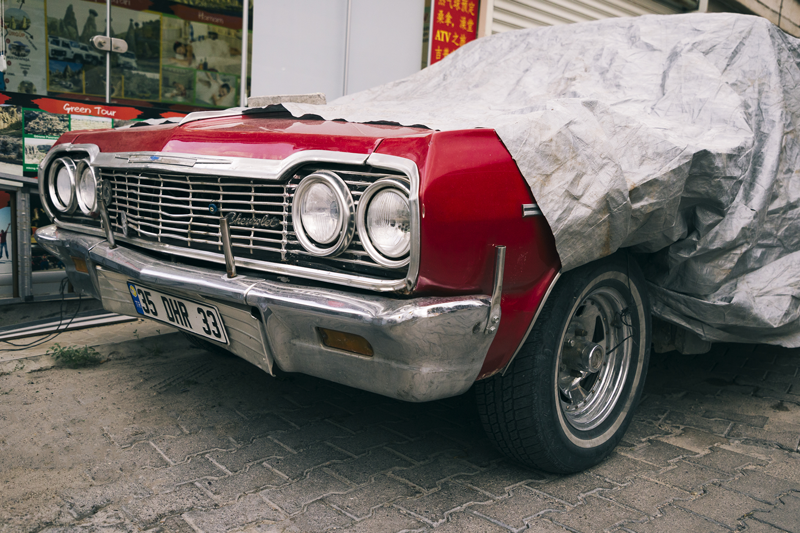
  1. Lack of cleaning

Corrosion can set in if you don’t properly clean it. Wash it, polish it, wax it. It may seem unnecessary to some. Why clean a car when you’re about to hide it away in storage? Bird poop, dead bugs, and other dirt are acidic, which eats away the surface. Dirt hidden inside crevices can lead to more long-term damage. Also, check inside the car for any leftover crumbs, wrappers, or trash. You don’t want to give rodents or bugs a home for the winter.

  1. Nonuse

Keeping classic cars hidden away like museum artifacts doesn’t help. It’s not an artifact, it’s a car, and cars need to be driven. There’s the common myth that car enthusiasts stow away their classics, which is why their car is intact. Those who do this turn out to have some of the most problems when they’re finally driven. The tires get flat spots, batteries corrode, seals dry out, then they leak, and gas begins to varnish. Remember this saying, “Nonuse is abuse.” The most reliable car is the one that is maintained, and this involves using it.

  1. Bad driving

We don’t necessarily mean reckless driving. You can inspect a classic all you want after it’s been sitting. If you don’t start it and let it warm up from the cold, you can do some major damage to the engine. Start the car, let it warm up a bit, drive gently until it reaches normal operating temperature, then drive normally. Don’t forget to engage the A/C compressor to ensure the front seal remains properly lubricated. You wouldn’t want to bring your car out for the first drive of the spring, just to find out you have leaked out all of the refrigerant during the long winter months.

With these tips in mind for the winter season, we hope your car restoration project is an enjoyable experience. If you need help finding or installing new items, be sure to contact Original Air for assistance.
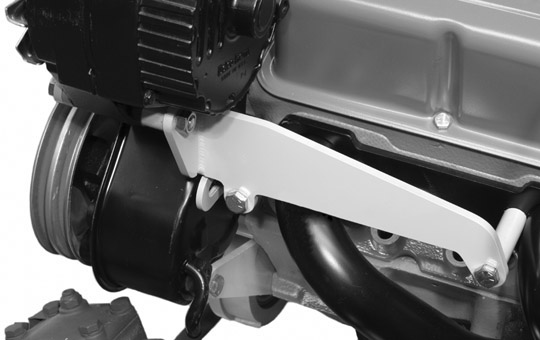
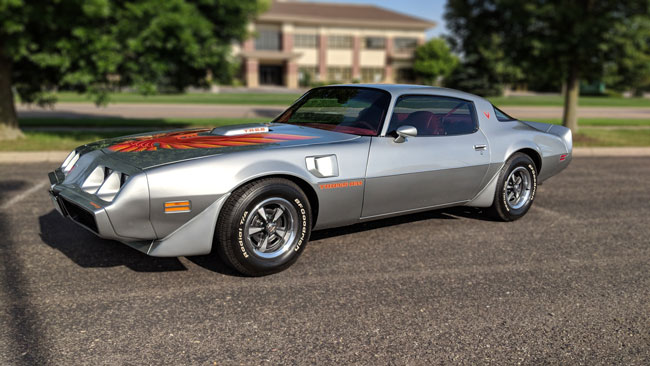
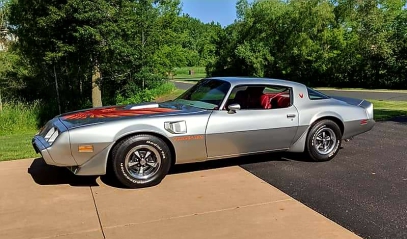
December's Cool Ride: George's 1980 Pontiac Trans Am 1976 Pontiac 400

I'm the original owner. I purchased it new in March 1980, and sold it in the summer of 1988 after the motor gave out. Found it again in 2015 and bought it back. I put it through 100% restoration and treated it to a rebuilt 1976 Pontiac 400 motor, QA1 suspension, Dakota Digital electronic dash and cruise control, full new interior, Kicker sound system, and of course brand new air conditioning from Original Air. This is my third car with an Original Air AC system. Would love to top off the restoration with an Alien Enclosures trunk kit!

Original Air components are condenser, hoses, compressor, drier, accumulator, expansion valve, suction valve and evaporator.

We are always hearing about cool restoration and modified car projects from our customers, and would love to see and share those factory equipped A/C cars. We have added a form to our website so that you can describe and upload pictures of your ride so that we may share with our customers worldwide. So get your car cleaned up, grab a camera, and send us your best shots!

How Important is the Proper Oil Charge?

The oil charge doesn’t have to be quite as accurate as the refrigerant charge in your car’s a/c system. However, it is highly important for system longevity and proper cooling.

NOT ENOUGH OIL – A low oil charge is the most common contributor to a seized or knocking compressor. Replacing a compressor is costly enough. Removing contaminants (such as metal shavings) from the rest of you’re a/c system due to a seized or knocking compressor can drastically increase repair and labor costs to do correctly. CLICK HERE FOR MORE INFORMATION ABOUT CONTAMINANTS. Besides the new compressor and filter-drier, the latter of which must be changed any time the system is opened to the atmosphere, any other component that is to be reused will require additional labor to clean internally, or often, replace.

TOO MUCH OIL – Many people don’t realize too much oil can have a devastating effect on your car’s air-conditioning system. Using refrigerant cans that contain oil and repeated compressor replacements that contain full oil charges without properly compensating are just two of the many ways this can happen. Too much oil in the system not only prevents your a/c from functioning well, but it can also lead to temporary seizing of the compressor. Too much oil in the cylinders can lead to premature failure and permanent seizing of the compressor, among other things.

HOW CAN I MAKE SURE I HAVE THE PROPER AMOUNT OF OIL IN MY CAR’S AIR CONDITIONING SYSTEM? – Unfortunately, there is no magic trick to doing this correctly. But depending upon what part(s) is being serviced, there are some ways to take an educated guess. For example, let’s say your car’s a/c was functioning correctly but was involved in an accident that damaged the condenser. Obviously, the condenser and filter-drier will need to be changed, and these items contain oil within them. Do your best to drain as much of the oil from them, and add that amount of oil back into the system before charging the car. This will help maintain the system’s oil charge integrity, so you don’t have a system oil over or undercharge. In the end, however, there is only one true way to ensure you’ve got an accurate full charge of oil in your car’s a/c system. Drain the compressor and flush each part in the system individually, reinstalling, and started with a full proper charge of refrigerant. CLICK HERE FOR MORE INFORMATION ABOUT CONTAMINANTS

Never Convert R12/134a Systems to 1234yf. Here's Why:

YouTube and other platforms are a great source of information for DIYers. Instead of spending crazy money on a service, in many cases, you can diagnose and fix an array of issues yourself simply by watching a few videos. However, just because it's on the Internet does not mean it’s a good idea. Lately, we have come across some how-to videos on how to convert R12 and 134a systems to take 1234yf, as well as videos of how to convert 1234yf systems to 134a. (The latter mainly due to the astronomically high cost of 1234yf.)

While you might be thinking you’re doing the environment a solid, do not do it. It is illegal to convert an R12 or 134a system to 1234yf.

The industry has no tests or published information to establish cooling performance, reliability, compatibility, or an assessment of chemical damage to a system’s lubricant seals and hoses. And the EPA has approved the new 1234yf refrigerant only for new vehicles with systems designed specifically for its use.

This is because R12 and 134a systems are not designed to use flammable refrigerants, which 1234yf is. In fact, Federal Law mandates that using flammable substitutes is strictly prohibited. Before you work on any system that could contain flammable refrigerant, proceed with caution. Electronic leak detectors can ignite if you use it to find leaks in systems holding flammable refrigerants. Plus, parts of recovery or recycling machines could ignite if the machine is being used to recover refrigerant. Even connecting and disconnecting service equipment, a small amount of refrigerant at the service ports might leak. This could also result in a fire if the leak ignites. In any of these situations, both could result in fires or even explosions.

In short, if your car was originally designed to use the old R12 or newer 134a, stick with one of them until a reliable time-tested product is offered as a substitute.

Reader Ride: Vernon's 1970 Ford Mustang 351

I've owned it since the late '70s but got serious about restoration in the summer of 2016. It has a new 351 Cleveland with 500 HP, C4 Auto transmission, new interior, new wheels and was in the body show for about six months. It was repainted in January of 2019. I also just charged the AC with R12 last week.

Original Air components on the car are the condenser, hoses, drier, accumulator, expansion valve, and suction valve.

Classic Car Tips For the Summer Season

If you’ve shielded your beauty from the sleet, snow, wind, rain and whatever else the winter and spring seasons have to offer, congratulations. It’s June, which means summer is finally here. You cannot wait to get your car back on the road; those stares you get driving it around never get old.

Unfortunately, what does get old is your classic. It’s called that for a reason and before taking it back on the road, always remember to take maintenance into consideration, especially if you haven’t started it in a year or more.

We typically start with the fluids, including brakes, transmission, windshield, washer, and coolant. Kudos to you if you remember the last time you changed the oil. But water and other fluids can seep into the crankcase anyway, so go ahead and get it replaced. Look under the car for any pools of liquid because drops here and there are normal, but larger puddles are not.

Next, check under the hood and try and find anything that may be out of place. Animals like raccoons, cats, and small rodents can crawl into your car, chew wires, and even leave a few surprises. We’ve seen it before. Be sure everything is intact by gently pulling on wires like the spark plugs. Also, check the ignition, distributor cap, and rotor. You might need to change out the air and gas filters as well.

Now check the fuel. If it smells like harmful gas, you are going to have a tough time starting. If the car has been sitting for over a year, drain out any fuel that was left and add some fresh stuff.

Check your wheels for both air pressure and the state of the rubber. Flat spots can develop in as little as a month. To avoid this happening in the future, roll the car forward and back a couple feet. Do this every two or three weeks, or just put the car up on jack stands if not driven very often.

Before looking at the battery, be sure the charging system is in order (alternator has clean feeds and grounds). Next, clean the battery’s posts and terminals, and add distilled water to the cells. If needed, use a 2-10 amp charger to charge the battery after a voltage test.

After finishing the initial inspection, take it on a quick test drive and do a double-check. If everything is still in order, you should be good to go. Even though it can take an afternoon or two to fully examine a classic that’s been sitting, both you and your car will appreciate it.