Written by
For full step by step please visit this article
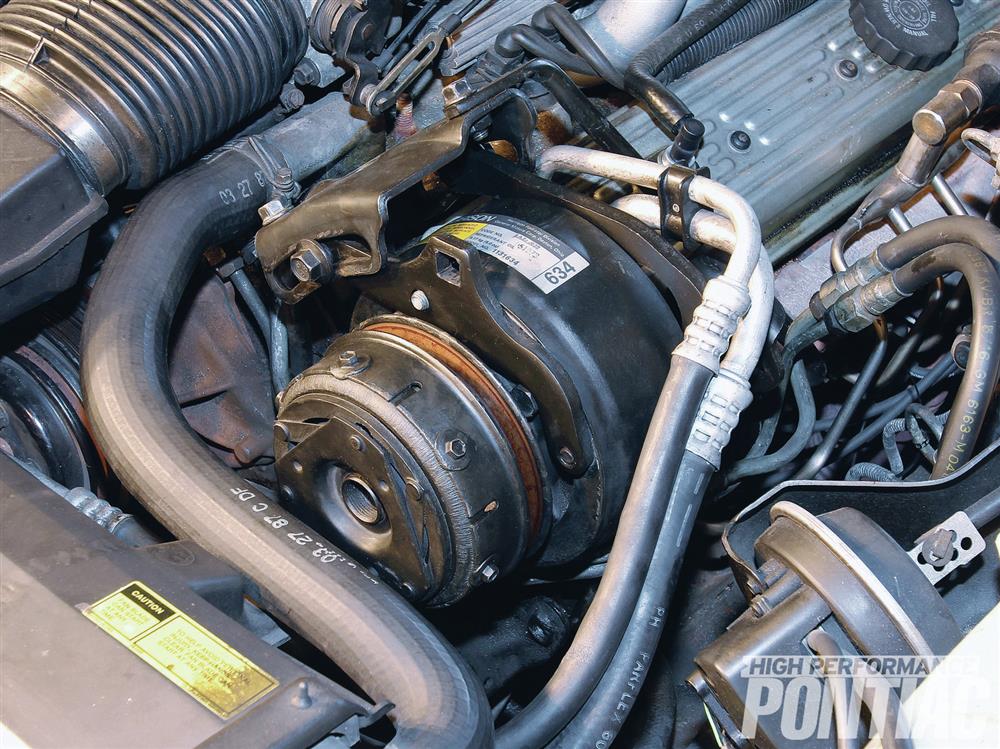
In ’80, Pontiac introduced the new R4 A/C compressor to some of its Trans Ams and Firebirds. Weighing in at nearly half the mass of the long-in-the-tooth A6 compressor, the R4 continued in the F-body line through ’92. It has earned a reputation as an unreliable design because it was prone to body and shaft-seal leaks, and seizing up due to the lack of an oil pan for oil storage.

Aftermarket replacement compressors have been available to consumers since the ’80s, but their focus was on reproducing the original, flawed part, without coming up with something better. Enter Classic Auto Air of Tampa, Florida, whose Original Air Group is dedicated to designing direct-fit upgrade A/C kits using modern R134a refrigerant (it’s no longer called freon!) in classic Pontiacs.

This Third Generation Firebird Formula has logged 96,000 miles since new and still retains its factory-issued R4 A/C compressor

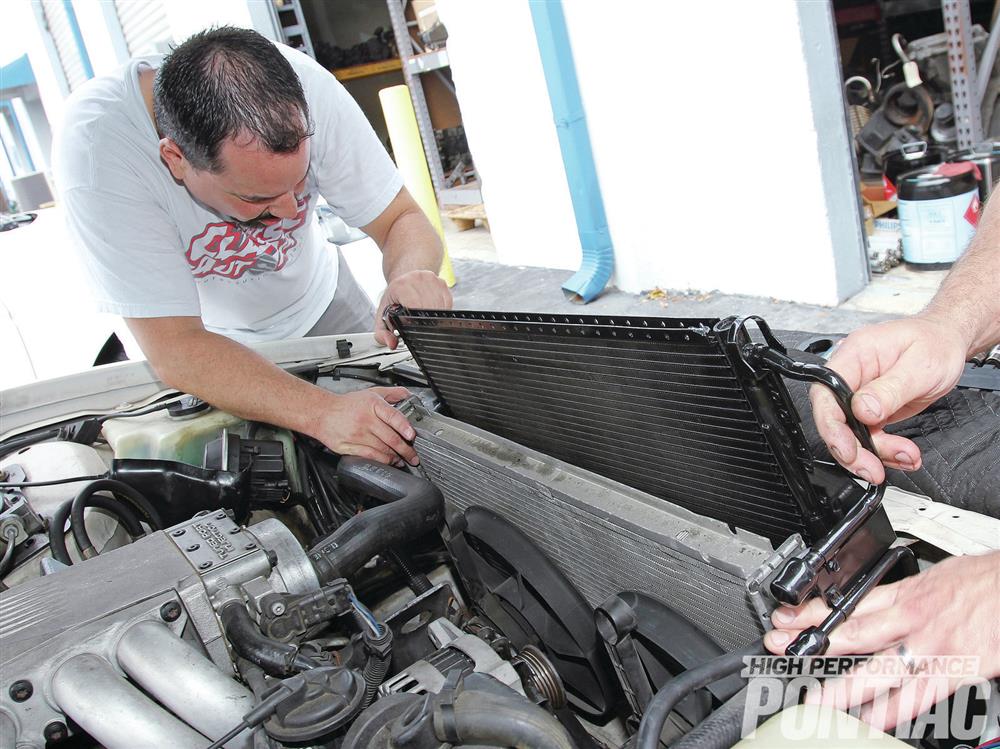
It’s time for the Stage 3 kit to be installed. Classic Auto Air’s team slid the new condenser into its space and made sure it mounted onto the two lower OE bushings. (Steps not shown: The men attached the upper OE bushings; aligned the upper-radiator-support cover and bolted it back into place, and aligned and fastened the air-plenum brace to the core support.
Classic Auto Air suggested its Stage 3 upgrade kit for the subject ’87 Firebird Formula equipped with GM’s corporate L98 350ci powerplant. Follow along as Classic Research and Development Lead Technician Mike Oliveras installs it.
Conclusion
Classic Auto Air says that the above steps can be accomplished by DIY mechanics, but evacuating and charging the new A/C system should be left to a licensed A/C professional. This particular vehicle took approximately 1.69 pounds of 134a refrigerant. The A/C technician must calculate the amount of 134a, which is generally 70-80 percent of the amount of R12 specified for the vehicle. That information is usually found on an evaporator-case decal or in the vehicle’s service manual.

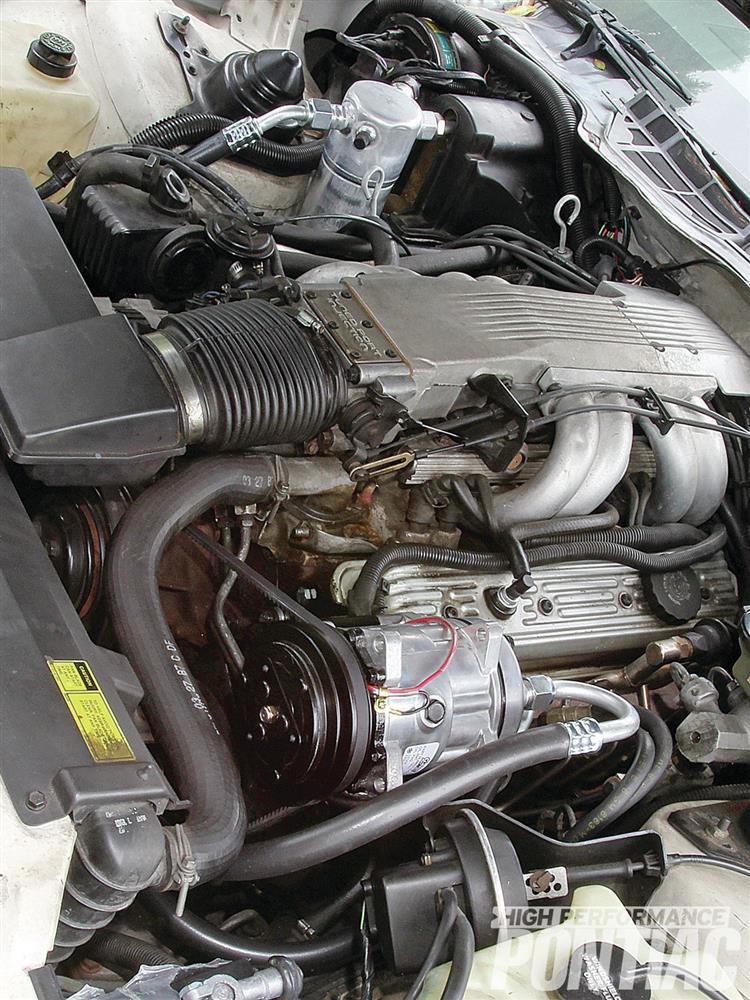
Oliveras connected the discharge fitting to the D-port of the compressor, followed by the condenser and suction fittings to the S-port of the compressor, and routed the former to the accumulator. He then installed the suction hose to the inlet of the accumulator. To complete the project, he reinstalled the air plenum and MAF.
Classic Auto Air’s Third-Gen A/C Upgrade Kits
Stage 1
Compressor upgrade, which replaces the unreliable and poor-performing R4 compressor with the dependability and efficiency of the modern rotary-style compressor
PN 23-261
MSRP $399.99
Stage 2
Engine compartment upgrade, which combines the Stage 1 kit with a direct-fit, high-performance parallel-flow condenser
PN 22-230
MSRP $699.99
Stage 3 (shown)
Deluxe engine compartment upgrade, which combines the Stage 2 kit with a new evaporator, effectively replacing all A/C components that contain refrigerant and lubrication, thereby eliminating any chance of system contamination
PN 22-230D
MSRP $749.99
